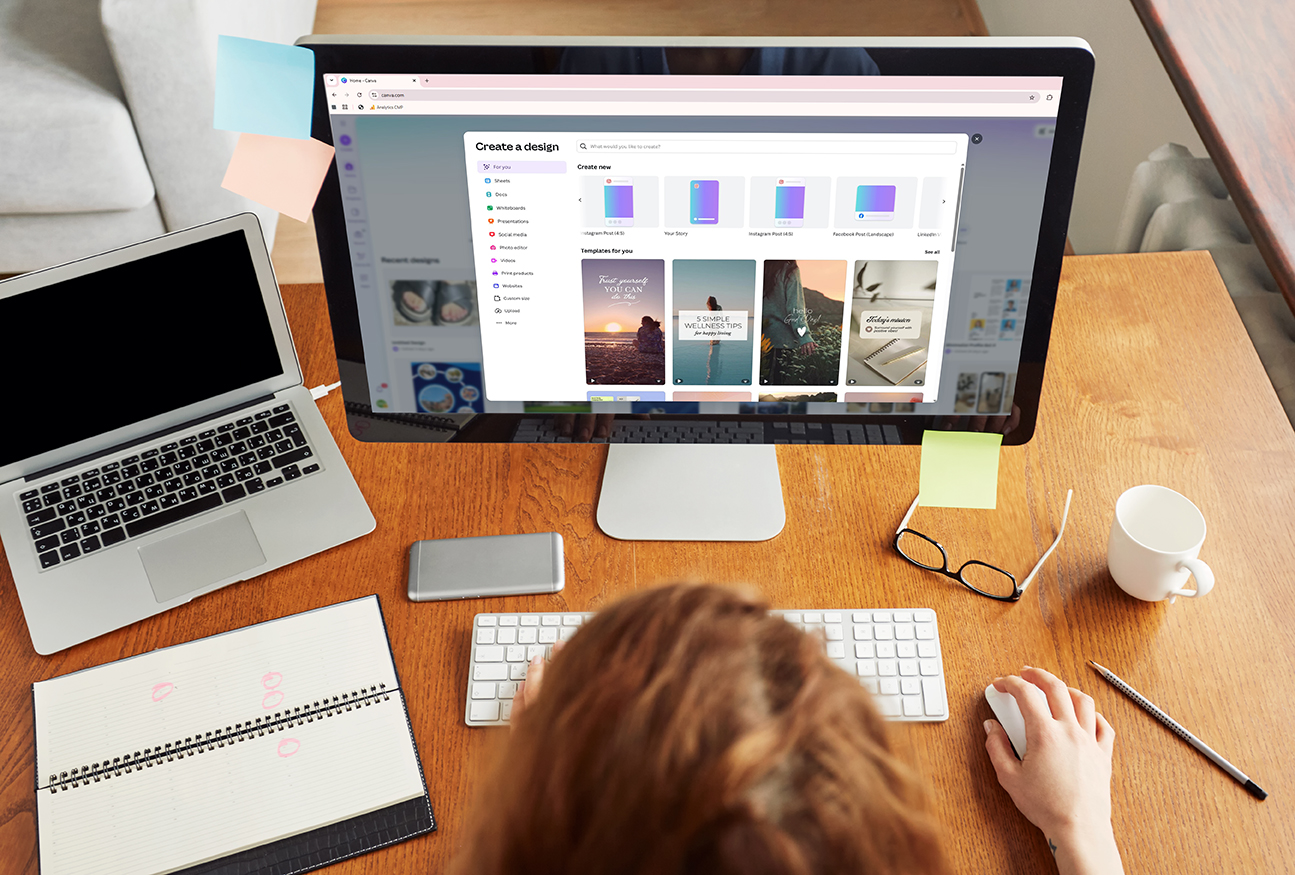
Canva is a fantastic tool for creating designs quickly and easily, but when it comes to professional printing, things can get tricky. By default, Canva’s settings are better suited for digital use, which can lead to problems if files aren’t prepared properly for print.
The good news? With a few adjustments before you download, your Canva file can be made press-ready. At Clarke Murphy Print, we also offer to check your Canva files directly through our Canva Pro account, adding bleed, checking colour settings, and running a preflight check, so you can feel confident your job will print beautifully.
If you’d like to prepare your Canva file yourself, here’s a simple step-by-step guide:
Step 1: Start with our print checklist
Before you begin, review our Design Checklist. This ensures your artwork follows the right specifications, saving time and avoiding errors down the track.
Step 2: Set up your margins
Go to File > View settings > Show margins. Canva will add a margin guide around your document. If you need a custom margin, use Show rulers and guides and drag guides from the ruler to create your own. This helps you define the “safe area,” so no important text or graphics sit too close to the edge.
Step 3: Add bleed
Switch on bleed by selecting View settings > Show print bleed. Canva automatically applies a 3mm bleed, which is essential for trimming and prevents white edges on your printed piece.
Step 4: Export as a print PDF
When you’re ready to save your file, go to Share > Download > File type and select PDF Print. Make sure you tick Crop marks and bleed. Avoid checking the “flatten PDF” option—this converts your artwork into a single image and makes it harder for printers to fix small issues if needed.
At this stage, Canva will export your file at 300dpi (dots per inch), which is the resolution required for quality printing.
Step 5: Switch to CMYK (if available)
Colour consistency is critical in print. Canva Pro users can change the colour profile from RGB (screen colours) to CMYK (print colours). If you’re using the free version, your file will stay in RGB, just let us know so we can handle the conversion for you.
Why preflight checks matter
At Clarke Murphy Print, we run every file through a preflight check before it goes to press. This process flags things like text outside safe areas, low-resolution images, or missing bleed. If there’s an issue, we’ll let you know. (Just keep in mind, we don’t check spelling or grammar!)
Key takeaways
- Always set margins and safe areas so nothing gets cut off.
- Add bleed to avoid unwanted white edges.
- Export as PDF Print at 300dpi with crop marks and bleed.
- Use CMYK for the most accurate print colours.
- Avoid flattening your file, so it stays editable.
With these steps, your Canva design will be set up correctly for print—and we’ll take care of the final checks to make sure it looks exactly as you envisioned.